JD / 04 — Prepare the artwork
Preparing jersey artwork and confirming print placement
A mockup starts the conversation. Give every badge, name and number a file version, a physical size and a position that can be checked on the jersey.
This guide helps you prepare the artwork conversation before sampling. Our blank record is a communication tool: the final file format, print method, dimensions and acceptance criteria still need to be agreed for your jersey. If the overall design is still open, start with the design brief guide.
Identify each element before repeating the artwork
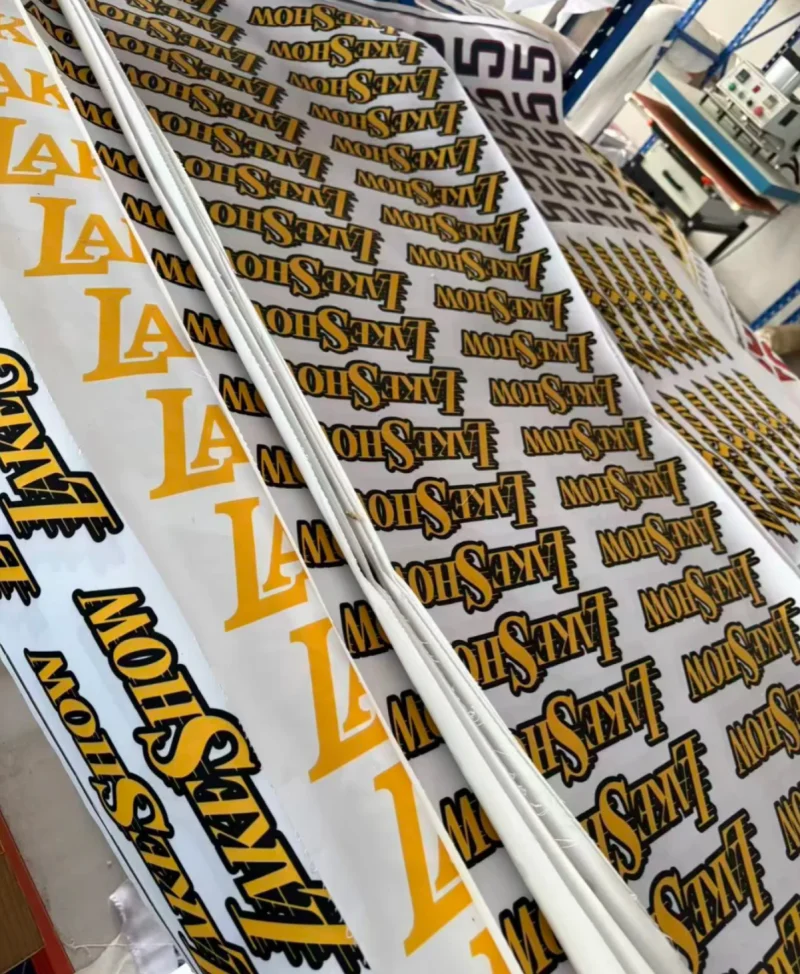
The sheets show repeated letters, words and shapes beside equipment. Before repeating your design, identify every element and the file version it should use.
Three checks for the artwork handoff
- Give every name, number and graphic an identifier that matches the latest file version shared for the project.
- Proofread spelling and count each personalised variant; confirm repeated names and different numbers as separate items in the list.
- Add width, height and placement for each element on a garment view; state which measurements change between jersey sizes.
A sheet layout does not define garment placement; confirm the final size and position on the sample.
1. Separate the reference, artwork and approval version
Send a front and back mockup together with the best available source files. Label each file with its role: inspiration, editable artwork or version to review. A social screenshot can explain an idea; it does not establish the size or quality of the production file. Tell us if you only have a screenshot so the next step can be discussed.
- Use a simple name such as project-front-v03, and identify the version being reviewed in the message.
- List the badge, sponsor text, player name and number separately; proofread spelling, accents and every personalised variant.
- Keep the editable original. If text is converted to outlines for delivery, retain a separate editable copy and a readable proof.
- Use artwork you own or are authorised to reproduce. Link to outside references without presenting them as finished files.
2. State the physical size and keep the proportions
Write the intended width and height in centimetres or millimetres for each element. Include the jersey size used for the mockup and say which measurements are still undecided. “The same as the picture” leaves both scale and perspective unclear. If you resize a badge, keep its proportions unless a deliberate redraw has been agreed.
In his 2016 sports artwork tutorial, PlayFonts discusses real dimensions and the proportions of logos and numbers. We checked the Spanish automatic captions; their transcription is imperfect. His example dimensions and rule references are not a current specification for your project.
3. Flag backgrounds, fine detail and colour questions
Open the artwork at its intended output size. Mark any unwanted background, soft edge, fine line, tiny lettering or distressed detail that needs review. State whether transparency is intentional. Provide a close-up plus the full design so a detail is not approved in isolation. Keep a note of the colour reference and the fabric colour you expect.
Garment Printing’s file guide highlights output size, edges and transparency. PYP’s preparation guide separates file requirements by decoration method. These are suppliers’ instructions. Ask us to confirm the requirements for your chosen fabric and method; their resolution, colour settings and print limits are not our universal standards.
4. Describe a position that someone else can measure
For each element, identify the garment side and the wearer’s left or right. Specify what is measured: for example, from a named collar seam to the top edge of the graphic, or from the garment centre line to the graphic centre. Keep the garment flat and relaxed for the record. A number without its starting and ending points is not a complete position.
Copy the blank record below into your document or chat draft, then fill it in. Label undecided values “to confirm”; do not infer them from the blank template. A front, back and sleeve view can accompany the same version number.
| Element / side | Artwork version | Width × height | Reference points / distance | Jersey size / status |
|---|---|---|---|---|
| Badge / front | — | — | — | — |
| Name / back | — | — | — | — |
| Number / back | — | — | — | — |
| Sleeve detail | — | — | — | — |
5. Check the chosen size and how it looks when worn
A placement approved on one size should not silently become a decision for every size. Identify the sizes to review and agree whether each graphic keeps the same dimensions or needs another layout. Check long names, wide numbers, collar changes and nearby seams. Record each exception instead of relying on “make it proportional”.
Transfer Express’s chest placement tutorial demonstrates an actual-size paper guide on a worn garment, followed by measuring it flat (03:59–04:55). We checked English automatic captions. This T-shirt supplier demonstration informs our suggestion to compare flat and worn positions; it does not establish jersey placement distances.
6. Keep digital approval and physical checks separate
An approved file records the intended artwork. A print trial can answer questions about its appearance on a proposed fabric and process; a garment sample can also show position, scale and how the jersey sits. Agree which checks the project needs and what each approval covers. A screen image alone does not confirm fabric colour, feel or final placement.
- Record the artwork version, garment size and material used for the check.
- Compare the agreed dimensions and reference points with the sample; photograph the ruler and the full garment when useful.
- Write a specific change, the part affected and the next version to check. Keep unanswered questions visible.
- Confirm the next step explicitly. Approval of a mockup or sample should identify its scope and any remaining conditions.
From artwork to an embroidery file
Distinguish the reference artwork, editable embroidery design and machine output file. An on-screen size does not prove that small lettering will work on the chosen base. Supply actual dimensions, final text and placement area; request review of a sample on the agreed material before approving the finish.
For a cap, identify the construction before placing the logo
Share the cap model and photographs of the front, panels, seams, brim and inside. Mark any seam crossing and the area that must remain legible. A frame area does not always equal the usable area; there is no single size for every cap. A cap adaptation needs its own review even when the same logo already exists for a jersey.
Graphics across panels: what needs to align
Mark lettering and symbols that must remain intact and distinguish background elements that may continue across panels. Use the template and usable areas for the specific model; do not copy another garment’s margins. A mock-up does not confirm exact seam alignment. Agree the intended continuity and what will be reviewed on the physical sample.
File preparation, delivery and reuse
| Question | What to record | Pending |
|---|---|---|
| Preparation | Included adaptation or digitising: ___ | Cost and version: ___ |
| Delivery | Files and formats you receive: ___ | Editable or output only: ___ |
| Reuse | Size, base or cap changes: ___ | Review and usage permission: ___ |
Paying for preparation does not by itself define delivered files or usage rights. Confirm both in the proposal. Printful’s digitising terms belong to its own service; they are not Jerseys Deliver’s commercial terms.
Continue with: Preparing a quotation · Reviewing the sample.
References informing these questions: Wilcom; Madeira; Melco; Printful; Printful; Dave Harding / STAHLS; Printful.
Additional questions from communities and videos: Lee Stuart; u/toyssamurai. Research used text or captions; archived records do not verify a thread’s current state. These are not site customers, demand statistics or evidence about our garments.
7. Send one clear handoff in the chat
Prepare the latest files, the filled placement record and a short list of open questions. Use WhatsApp or Telegram to discuss them with the studio. No technical pack yet? Share what you have and identify what still needs design work. Continue with sampling and development or the sample review guide.
The external tutorials above are credited research references, not work produced by Jerseys Deliver. The checklist and blank table are our original communication framework; they do not report a completed customer project or a measured production result.
GUANGZHOU / JERSEYS DELIVER
Give your project a direction.
Share your references and the decisions still open. We start by understanding your design and the scope of the project.
Jerseys Deliver / Studio notes
Keep your project moving
Prepare the design
How to prepare a custom jersey brief
A practical checklist to organise design decisions and review your sample before the next step.
Read the guideReview the sample
How to review your first custom jersey sample
Turn first impressions into a clear record of measurements, decisions and changes.
Read the guideOrganise the enquiry
What to prepare for a custom jersey quote
Organise quantities, sizes and colourways so the project scope is clear from the first enquiry.
Read the guide
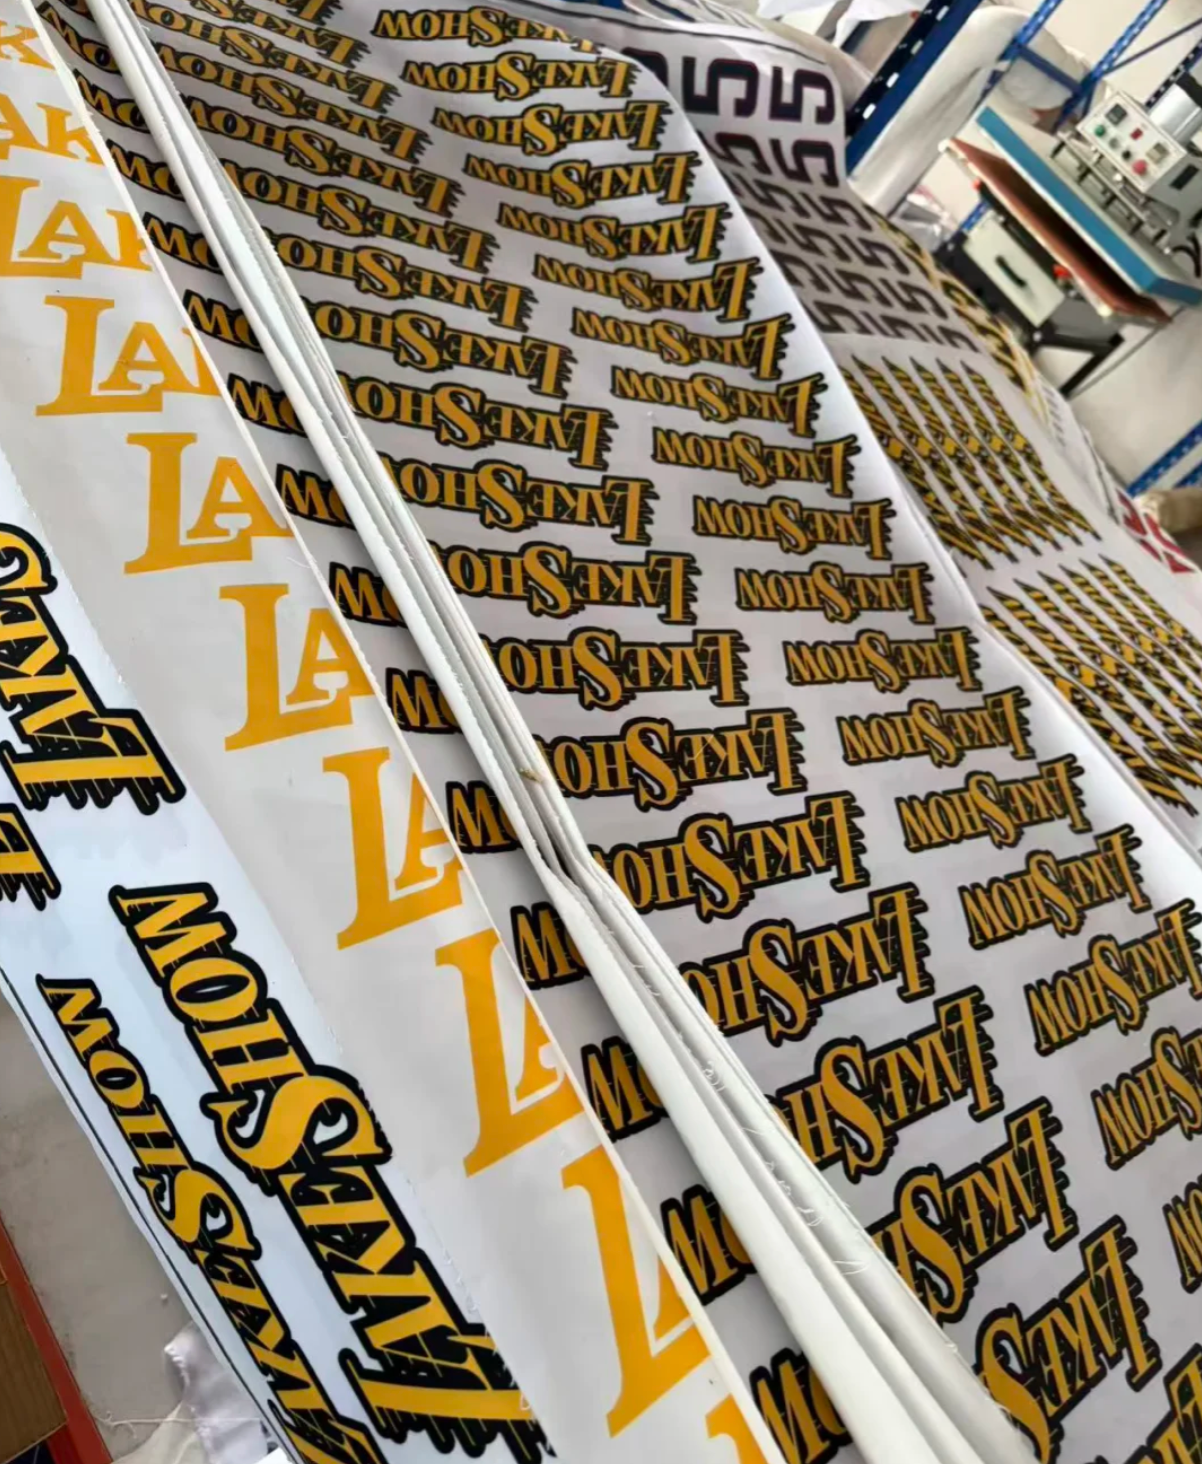
Review the team roster
Team roster handoff: names, numbers and versions before production
One design can have many variations. Connect every garment to its exact text, number, size and version so personalisation can be checked before production.
Read the guide