JD / 01 — Prepare the design
How to prepare a custom jersey brief
A practical checklist to organise design decisions and review your sample before the next step.
A useful brief makes clear what you want to create, what is decided and what needs a conversation. You do not need a complete tech pack to start: an idea, annotated references and a list of questions can begin the discussion. The aim is to give design, sampling and production the same starting information, with decisions recorded in writing.
Turn a visual reference into design decisions
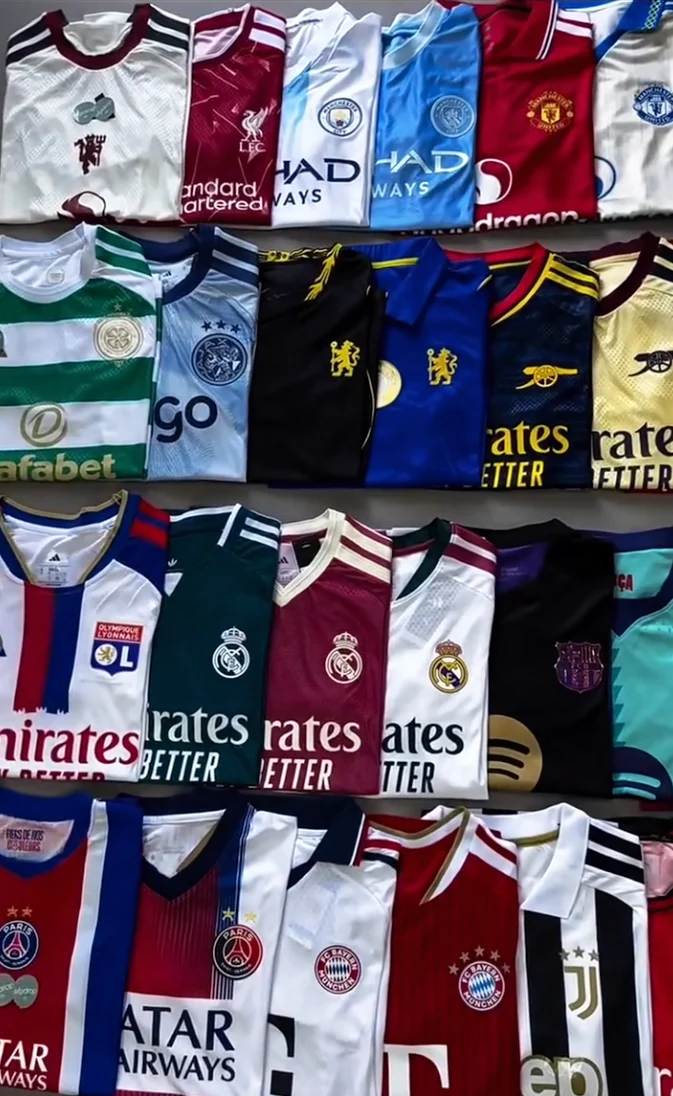
The folded jerseys show different necklines, stripes and colour combinations. When choosing a reference, identify the detail you want to develop in your own design.
Three decisions for your brief
- Mark your chosen neckline and describe its shape, trim colours and any reference details you want to leave out.
- Sketch the panels and stripes on front and back views; name each colour instead of relying on one photograph.
- Choose a fit reference garment and record its measurements; keep fabric feel and composition as separate decisions to review.
The photo provides visual direction; review a physical swatch and its material information to decide feel and composition.
1. Define the project before choosing the details
Say whether the jersey is a brand garment, a team uniform, an event piece or a gift. Describe who will wear it and how it should feel or look. Separate the units needed to test the idea from the expected production quantity; if you do not know the number yet, give a range or write “to be defined”.
Add the delivery country and city, together with your preferred arrival date. That date is a target to review against development, production and shipping; it is not a delivery confirmation. Flag any fixed event date at the start.
2. Explain what each reference is for
Number your images and identify the part that interests you: silhouette, drape, colour combination, texture, collar or graphic position. It also helps to explain what you do not want to reproduce. One photograph does not define every feature of a garment. Use artwork you own or are authorised to use, and separate visual references from available final artwork.
3. Turn the idea into details that can be reviewed
- Fit and measurements: choose a reference size and explain whether you want a fitted, regular or loose silhouette. If you have a reference garment, record its measurements and how you took them; “size M” alone is not enough.
- Fabric: describe the feel, drape and appearance you want. Add composition or weight only if you know them. A photograph can provide direction, but it does not replace reviewing a physical swatch.
- Graphics: identify each file and version, intended size and placement. For example, give the graphic width and distance from a seam or centre line; mark dimensions that still need to be defined.
- Finishing: list the collar, cuffs, labels and other branding details. Note any bags, hangtags or specific packaging you need. Technique and feasibility are reviewed alongside the design and material.
4. Copy and complete this checklist
Write “to discuss” where information is missing. This separates an open decision from an overlooked detail. The checklist is an editable starting point, not a final tech pack or approval to produce.
- Project / brand / intended use: ______
- Intended wearer and desired appearance: ______
- Sample needed and what it should test: ______
- Estimated quantity and size breakdown: ______
- Destination and target date; fixed event, if any: ______
- Reference 01: link or file / relevant detail: ______
- Fit, reference size and available measurements: ______
- Desired fabric and points still to test: ______
- Final artwork: file / version / size / placement: ______
- Collar, cuffs, labels and packaging: ______
- Indicative budget and currency, if defined: ______
- Open questions / person confirming / brief date: ______
5. Review the sample with one list of changes
Identify the sample and the brief version you are reviewing. Compare each point with what was agreed and collect comments in one table. “Bigger” or “higher” can be ambiguous: support the request with a measurement, an annotated photograph or a specific description. If the design changes, also record which elements remain approved.
| Item | Agreed target | Measurement or observation | Requested change | Version |
|---|---|---|---|---|
| ______ | ______ | ______ | ______ | ______ |
| ______ | ______ | ______ | ______ | ______ |
Confirm in writing what is approved and what needs another review before authorising the next step. Keep design changes separate from corrections against the brief so both sides can review their effect on the remaining work.
Next step
Jerseys Deliver is a jersey design and production studio based in Guangzhou. We can review a project from design and materials through production, packaging and logistics. Start with custom jersey design and production, or sample development if you need to check the proposal first. Quantities, costs and dates are confirmed after reviewing the requirements.
Composition, construction and fabric weight are separate details
“Polyester”, “mesh” and “g/m²” answer different questions: stated fibre content, fabric construction and mass per unit area. Record who supplied each detail, which swatch or batch it describes and the conditions under which it was obtained. Whole-garment weight does not establish fabric weight per area; a small swatch result does not by itself represent the entire batch.

| Detail | Reference and scope | To confirm |
|---|---|---|
| Composition | Base specification or label: ___ | Source: ___ |
| Construction | Stated name; both-side photographs: ___ | Swatch: ___ |
| Fabric weight | Value, unit and swatch/batch: ___ | Conditions: ___ |
Describe a racing-style reference by area
For a reference with a collar, buttons or several panels, identify what to keep and change on front, back and sleeves. Identify the photograph and artwork version; leave unconfirmed dimensions pending. A racing-inspired visual style does not imply protective clothing or competition certification.
Continue with: Artwork and placement.
References informing these questions: Wilcom; X-Rite; ASTM International; CottonWorks / Cotton Incorporated.
Additional questions from communities and videos: u/New-Call-3599. Research used text or captions; archived records do not verify a thread’s current state. These are not site customers, demand statistics or evidence about our garments.
Only the public ASTM abstract and scope were consulted, not the full method. The table is a question record, not a test procedure.
Question sources and editorial approach
This guide and checklist are original Jerseys Deliver content. We checked the questions against Apparel Entrepreneurship’s general tutorial on references, measurements and revisions; CarmelElite6’s discussion of graphic placement on a sample; and coolsouthern_caldude’s request for five or six gifts. These are external references, not our projects or evidence of minimum quantities, prices or turnaround times. The tutorial was reviewed through English automatic captions; its author also sells templates.
GUANGZHOU / JERSEYS DELIVER
Give your project a direction.
Share your references and the decisions still open. We start by understanding your design and the scope of the project.
Jerseys Deliver / Studio notes
Keep your project moving
Review the sample
How to review your first custom jersey sample
Turn first impressions into a clear record of measurements, decisions and changes.
Read the guideOrganise the enquiry
What to prepare for a custom jersey quote
Organise quantities, sizes and colourways so the project scope is clear from the first enquiry.
Read the guide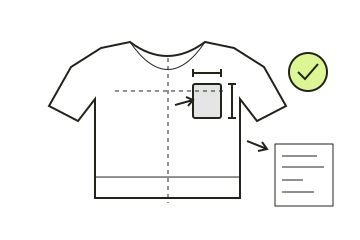
Prepare the artwork
Preparing jersey artwork and confirming print placement
A mockup starts the conversation. Give every badge, name and number a file version, a physical size and a position that can be checked on the jersey.
Read the guide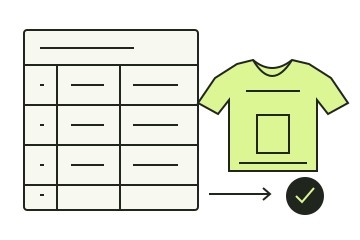
Review the team roster
Team roster handoff: names, numbers and versions before production
One design can have many variations. Connect every garment to its exact text, number, size and version so personalisation can be checked before production.
Read the guide